Connecting to the Campus Virtual Private Network (VPN)

A VPN is a technology solution that allows you to securely connect to university based resources which wouldn't regularly be available from the internet. This connection to the university network is encrypted, and allows you to connect to campus resources “like you were on the campus network”. Using the VPN, you can access items such as windows file shares, restricted internal websites, and restricted internal applications from either your UMass Lowell-owned device or personal device, using the public internet.

When do I need VPN?

If you already have access to an application or website through secure http (https), then chances are you DO NOT need a VPN connection.

Some examples when a VPN connection IS NOT REQUIRED from off campus:

  • SiS
  • HR Direct
  • BuyWays
  • R25
  • Finance
  • Summit
  • Office 365
  • Outlook client
  • Blackboard
  • One Drive
  • Skype for Business
  • Teams

If you connect to systems or services only available internally to the UMass Lowell network, then you need a VPN connection.

Some examples when a VPN connection IS REQUIRED from off campus:

  • A research server that is restricted from the internet
  • Some library applications
  • Departmental file shares (X/Y drives)
  • When using Tridion Site Edit

First Time Users

  1. Usage of the UMass Lowell VPN requires multi-factor authentication using Microsoft Authenticator. If you are not currently enrolled in Microsoft Authenticator for other applications such as HR Direct, please do so first by visiting the Multi-Factor Authentication website.
  2. Before you can connect to the VPN, you must first install specific 'client software' on each system you intend to connect to from the VPN. Instructions for installing this software and connecting to the VPN are available below. It is very important to review the instructions for your operating system prior to installing the client software. Please contact the IT Service Desk at 978-934-4357 for further assistance.
  3. Users requiring remote access via VPN shall adhere to the campus VPN Policy (IT-5-124) from the Policies Portal.

What Do I Do Next?

Click on the corresponding tab below for instructions on how to install VPN on your corresponding device as well as help using it after it's already been installed.

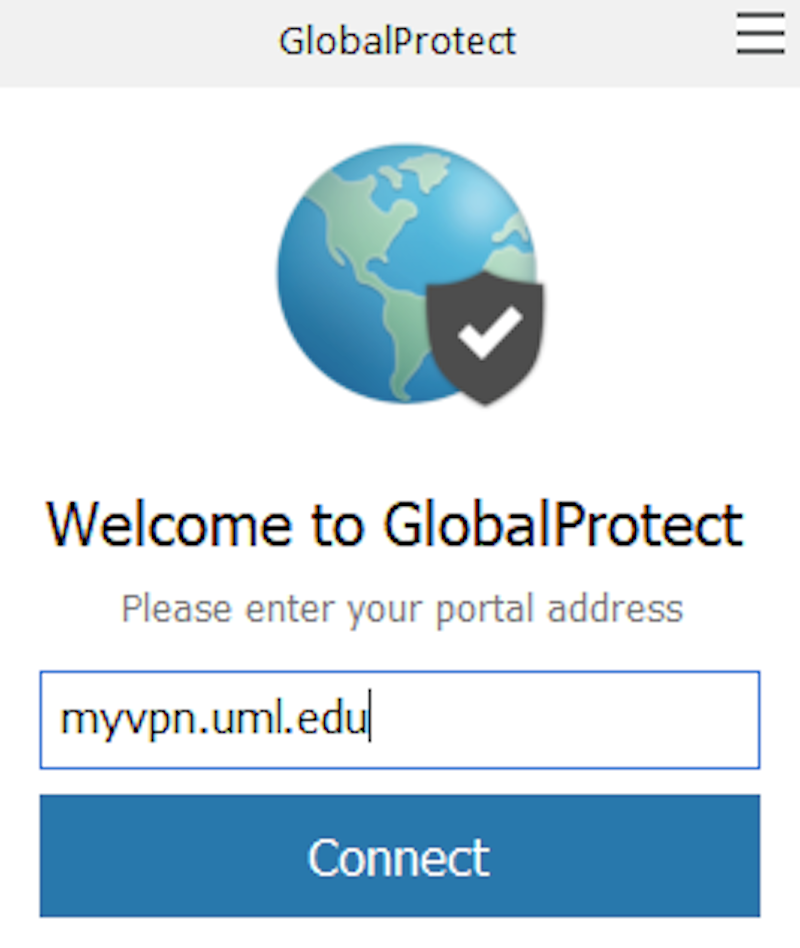
GlobalProtect icon: Welcome to GlobalProtect Please enter your portal address. Box: myvpn.uml.edu. Underneath is blue button with: Connect.

The window that appears when you access the GlobalProtect icon.
View a larger version of the GlobalProtect icon window image.

Instructions for Windows-based computers


Installing and using the Global Protect VPN on Windows

  1. Download the GlobalProtect 64bit agent or the GlobalProtect 32 bit agent. If you are unsure of which version to use, try the 64bit version first.
  2. Log in using your UMass Lowell credentials.
  3. Once the file is downloaded open the file and start the installer.
  4. Select the defaults during the installation process.
  5. Once the installation is completed, the Global Protect application will automatically launch in the system tray.
  6. When the application starts, enter myvpn.uml.edu as the portal address and press connect.
  7. Type in your username and password when prompted and then authenticate using Microsoft Authenticator.
  8. A pop-up window will appear, indicating the terms of agreement. You can choose to not show this again by selecting the check box in the lower right-hand corner. Close this window when ready.
  9. You can see that you are now connected by checking the Global Protect Icon in the system tray. Once a successful connection occurs, the ‘Connect’ button in the Global Protect application will change to ‘Disconnect’, which you can use when you are ready to disconnect from the VPN.
  10. While connected, you can also select the menu button inside of the Global Protect application to see settings, including the IP address that has been assigned to your session, along with data/traffic statistics.

    The Global Protect application will automatically start upon login or when first installed and the icon for it will appear in the system tray. The icon is a globe. When you aren’t connected to the VPN, the icon will appear in a greyed-out state.

    When you are connected, the icon will change to a globe with a shield on it.

    You can click this icon to bring up the application to connect, disconnect or view settings. The ‘portal’ setting will be automatically saved for future connections.

Using the Global Protect VPN on Windows

The Global Protect application is used for connecting to the University VPN. Once you install the application, it will automatically start in a disconnected state when you log in to your system. An icon for it will be in your system tray, normally on the bottom right corner of your screen. The icon is a globe.

When you aren’t connected to the VPN, the icon will appear in a greyed-out state.

When you are connected, the icon will change to a globe with a shield on it.

You can click this icon to bring up the application to connect, disconnect or view settings. The ‘portal’ setting will be automatically saved for future connections.

When you aren’t connected to the VPN, the icon will appear in a greyed-out state.

GlobalProtect icon: Welcome to GlobalProtect Please enter your portal address. Box: myvpn.uml.edu. Underneath is blue button with: Connect.

The window that appears when you access the GlobalProtect icon.
View a larger version of the GlobalProtect icon window image.

To connect:

  1. Open up the application from the system tray.
  2. If “myvpn.uml.edu” appears in the Portal area, click the blue Connect button.
  3. If the Portal area is blank, type in myvpn.uml.edu and click the blue Connect button.
  4. Log in with your UMass Lowell credentials and authenticate with Microsoft Authenticator.
  5. A pop-up window will appear, indicating the terms of agreement. You can choose to not show this again by selecting the check box in the lower right-hand corner. Close this window when ready.
  6. While connected, you can also select the menu button inside of the Global Protect application to see settings, including the IP address that has been assigned to your session, along with data/traffic statistics.

To disconnect:

  1. Open up the application from the system tray.
  2. Click Disconnect.

Instructions for Apple macOS-based computers


Installing and using the Global Protect VPN on macOS

This version of GLOBAL PROTECT is fully supported on macOS versions Catalina (10.15.7) and above. It is recommended that you upgrade to one of these versions of macOS for use with the VPN.

  1. Download the MacOS 32/64 bit GlobalProtect agent.
  2. Log in using your UMass Lowell credentials.
  3. Start the installer application by accessing it in the Downloads folder, if it does not automatically start.
  4. During the installation process, ensure that 'Global Protect' and 'Global Protect System extensions' are checked.
  5. Once the installation is completed, the Global Protect application will automatically launch in the task menu. Follow the instructions when prompted to approve the Global Protect system extension.
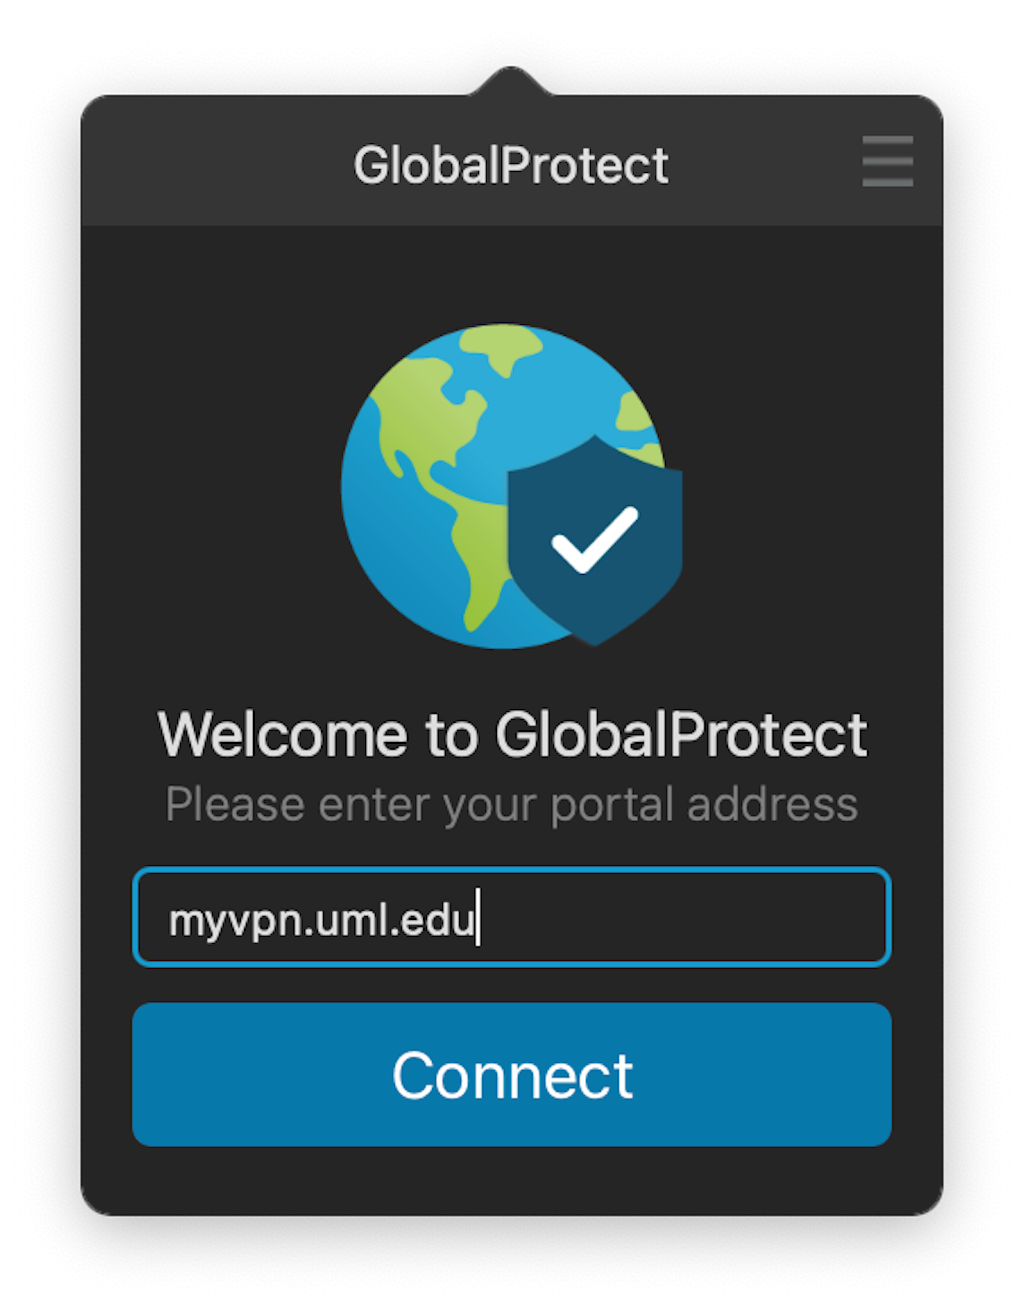
  6. When the application starts, type in myvpn.uml.edu in the portal address window and click Connect.
  7. Type in your username and password when prompted and follow the Microsoft Authenticator prompts to authenticate.
  8. A pop-up window will appear, indicating the terms of agreement. You can choose to not show this again by selecting the check box in the lower right-hand corner. Close this window when ready.
  9. Once a successful connection occurs, the ‘Connect’ button in the Global Protect application will change to ‘Disconnect’, which you can use when you are ready to disconnect from the VPN.
  10. While connected, you can also select the menu button inside of the Global Protect application to see settings, including the IP address that has been assigned to your session, along with data/traffic statistics.
GlobalProtect icon with text:  Welcome to GlobalProtect Please enter your portal address. Box with myvpn.uml.edu and button labeled Connect.

The window that appears when you access the GlobalProtect icon.
View a larger version of the GlobalProtect icon window image.

The Global Protect application will automatically start upon login or when first installed and the icon for it will appear in the top menu bar. The icon is a globe. When you aren’t connected to the VPN, the icon will appear in a greyed-out state.

When you are connected, the icon will change to a globe with a shield on it.

You can click this icon in order to bring up the application in order to connect, disconnect or view settings. The ‘portal’ setting defined earlier (myvpn.uml.edu) will be automatically saved for future connections.

Using the Global Protect VPN on macOS

The Global Protect application is used for connecting to the University VPN. Once you install the application, it will automatically start in a disconnected state when you login to your system. An icon for it will be in your top menu bar. The icon is a globe.

When you aren’t connected to the VPN, the icon will appear in a greyed-out state.

When you are connected, the icon will change to a globe with a shield on it.

You can click this icon in order to bring up the application in order to connect, disconnect or view settings. The ‘portal’ setting will be automatically saved for future connections.

GlobalProtect icon with text:  Welcome to GlobalProtect Please enter your portal address. Box with myvpn.uml.edu and button labeled Connect.

The window that appears when you access the GlobalProtect icon.
View a larger version of the GlobalProtect icon window image.

To connect:

  1. Open up the application from the top menu.
  2. If “myvpn.uml.edu” appears in the Portal area, click the blue Connect button.
  3. If the Portal area is blank, type in myvpn.uml.edu and click the blue Connect button.
  4. Log in with your UMass Lowell credentials and authenticate with Microsoft Authenticator.
  5. A pop-up window will appear, indicating the terms of agreement. You can choose to not show this again by selecting the check box in the lower right-hand corner. Close this window when ready.
  6. While connected, you can also select the menu button inside of the Global Protect application to see settings, including the IP address that has been assigned to your session, along with data/traffic statistics.

To disconnect:

  1. Open up the application from the top menu.
  2. Click Disconnect.

Instructions for Linux-based computers

PaloAlto Networks has certified this client to run with the following versions of Linux but it may work with others. Information Technology will support the GUI version of this software running on these versions of Linux:

  • CentOS 8.3
  • RedHat Enterprise Linux 8.3-8.4
  • Ubuntu 14.04 – 22.04

Installation directions:

  1. Download the installation archive file.
  2. In a Linux shell session, extract the files from the tar archive.
  3. You will see multiple versions of the installation packages for supported operating systems.  The deb versions are for Ubuntu and the RPM versions are for Redhat and CentOS. The ones with “UI” in the filenames are the ones designed to work in the Linux gui, please use those when installing.
  4. If using Ubuntu, install the program with: sudo dpkg -i <name-of-package>
  5. If using RedHat or CentOS, install the program with: sudo yum install <name-of-package>
  6. After installation completes, the application should automatically start.  Once it does, specify myvpn.uml.edu as the portal address and click Connect. You will be prompted for your UML credentials and then to authenticate with Microsoft Authenticator.  
  7. Once connected, you can bring up the GlobalProtect user interface by typing the following at the command line: globalprotect launch-ui. From this UI, you can look at settings and disconnect.

Using GlobalProtect:

To launch the Global Protect application to connect/disconnect or modify settings, type the following at the command prompt: globalprotect launch-ui         

The portal address of myvpn.uml.edu should have been saved from previous connections.

Instructions for Mobile Devices & Tablets

Android Installation directions:

  • Download the GlobalProtect app from the Google Play store.
  • Launch the GlobalProtect app.
  • In the "What is your portal address" field enter myvpn.uml.edu
  • You will be prompted for your UML credentials and then to authenticate with Microsoft Authenticator.

iPhone Installation directions:

  • Download the GlobalProtect app from the Apple app store.
  • Launch the GlobalProtect app.
  • In the "What is your portal address" field enter myvpn.uml.edu
  • When prompted with "GlobalProtect Would Like to Add VPN Configurations", press Allow.
  • You will be asked to confirm your Apple Touch ID.
  • You will be prompted for your UML credentials and then to authenticate with Microsoft Authenticator.

Instructions for Chromebooks

  • Download the GlobalProtect app from the Google Play store.
  • Launch the GlobalProtect app.
  • In the "What is your portal address" field enter myvpn.uml.edu
  • You will be prompted for your UML credentials and then to authenticate with Microsoft Authenticator.